Step-by-Step Guide to Mastering DIY Hood Cleaning Techniques
Introduction
Welcome, culinary enthusiasts and restaurant owners of Los Angeles, Santa Monica, and Orange County! If you’re someone managing a bustling kitchen, you know how crucial restaurant hood cleaning is for ensuring a safe and efficient cooking environment. While professional commercial kitchen hood cleaning services are highly recommended, there are some DIY tips you can follow to maintain your exhaust hood cleaning in between professional services. Let’s dive into this step-by-step guide to keep your kitchen hoods sparkling and your kitchen air as fresh as a Californian breeze!
Why Regular Hood Cleaning is Essential
Let’s first discuss why regular hood cleaning is essential. For those in Los Angeles and neighboring areas, without regular maintenance, kitchen hoods can become clogged with grease and grime, creating a fire hazard. This buildup can also hamper the efficiency of your exhaust system and degrade the indoor air quality of your kitchen. Therefore, it’s not just about cleanliness; it’s about safety and performance.
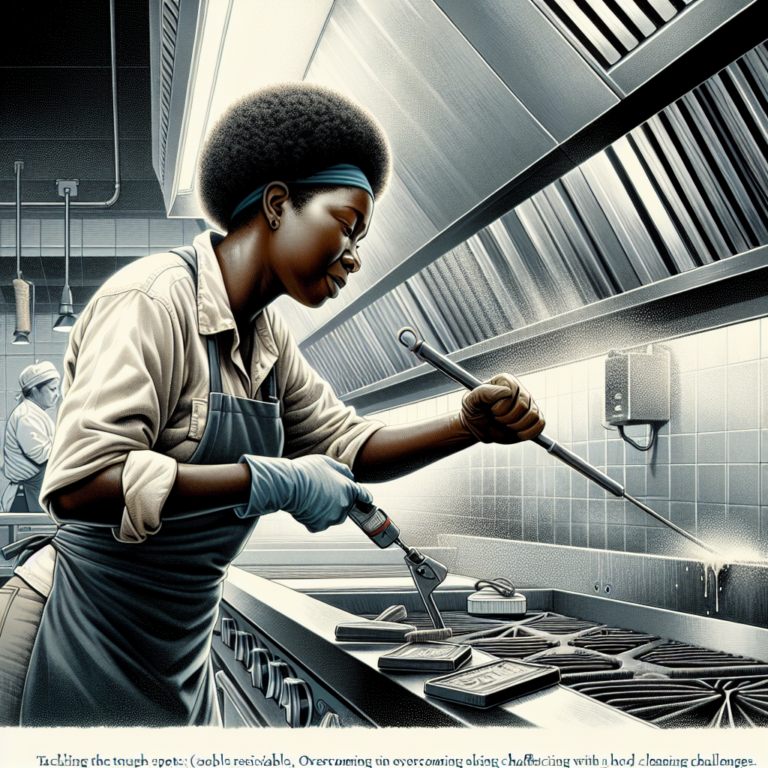
Gearing Up for the Task
What You’ll Need:
- Heavy-duty gloves
- Safety goggles
- A flashlight
- Degreasing solutions
- Scrubbing brushes
- Warm soapy water
- Cleaning cloths or sponges
- Plastic tarps or old newspapers
- A ladder (if necessary)
Ensure that your workspace is safe by switching off all electrical appliances and ensuring the kitchen is well ventilated.
Step-by-Step Hood Cleaning Process
Step 1: Preparation
Before embarking on this cleaning expedition, cover your kitchen appliances and floors with plastic tarps or old newspapers to protect against drips and spills. Don your safety goggles and gloves to protect against degreasing chemicals.
Step 2: Disassemble the Hood
Carefully remove the filters from your kitchen hood. These will likely be laden with grease and require a separate, thorough soaking and scrubbing. Consult the manual or a professional if you are unsure about removing any parts.
Step 3: Soak and Scrub the Filters
Soak the filters in a sink filled with hot water and a good amount of degreaser. Allow them to sit for at least 15-30 minutes. After soaking, scrub them vigorously with your brush until all grease is removed. Rinse thoroughly and leave them to dry.
Step 4: Clean the Hood’s Interior and Exterior
Spray degreaser onto a cleaning cloth or sponge and wipe down the interior and exterior surfaces of the hood. Pay special attention to areas where grease typically accumulates. Avoid spraying directly onto electrical components.
Step 5: Rinse and Dry
With a cloth soaked in warm soapy water, wipe down all the surfaces to remove any cleaning residue. Once clean, use a dry towel to ensure that all components are completely dry before reassembling.
Step 6: Reassemble and Test
Once everything is dry, reassemble the hood components. Switch on the exhaust fan to ensure everything is working efficiently and the airflow is unobstructed.
Maintaining Your Kitchen Hood
Routine maintenance is key to a safe and efficient kitchen. A monthly cleaning schedule is advisable, particularly for those in the high-demand zones of Los Angeles and Santa Monica. However, if it all seems too daunting, remember that professional restaurant hood cleaning services are a call away in Orange County and neighboring areas.
Conclusion
There you have it: a full-scale DIY approach to exhaust hood cleaning. While these steps are perfect for ongoing maintenance, there’s no replacement for the expertise of professionals when it comes to ensuring complete safety and compliance. If you’re located in Los Angeles, check out our trusted partners for hood cleaning to keep your kitchen in immaculate condition and free up your time for more culinary creations!